
Final Cut Pro is daunting the first time you open it up. Like every other creative app, the layout slightly different than the program you’ve used before, and the workflow is similar but not the same. We’ve all been there are we’re here to help create you’re very first video in Final Cut Pro.
Final Cut Pro is part of Apple’s Suite of creative apps for video production. Apple’s Motion and Compressor are also used in the video production workflow. Apple’s Suite is comparable to Adobe’s. Final Cut and Premier are both video editors, Motion and After Effects are for animation, and Compressor and Media Encoder are for encoding.
Before you even start editing you need some footage. If you’re here we’re going to assume that you’ve already completed this step – but if not check out our blog on shooting your first video.
Remember… Shooting, editing, and creating are all skills that take practice. We believe it’s better to get started, then hone your craft, rather than creating your magnum opus on your first try.
Making Your First Video
We are going to break down your first video into six steps:
- Prepare your workspace
- Import your media
- Edit your video
- Add music
- Add effects
- Share
Prepare Your Workspace
Before you start working on a project, make sure that you have updated your operating system and Final Cut app. This will make sure you are using the most recent versions of the software, which will ensure the smoothest editing experience.
Make sure you have enough free space on your device to handle the editing process. As you add clips, cut, trim, transform, and render, valuable space on your hard drive is consumed. When you go to export your final video more memory is used to render the final file. Before you start, make sure you have plenty free space to work with.
Collect your assets. Everyone has a different workflow for video editing. Some people might source music after their first rough cut. Some people might dig through all their folders to find the one perfect clip. In our experience having your video assets consolidated and organized before starting the edit makes the overall process much more efficient. It also helps keep you stay in the creative flow.
Final Cut File Structure
Once you’ve got all your clips organized and ready it’s time to fire up Final Cut Pro and start editing.
If you have used programs like Adobe Premier or Da Vinci Resolve, there is an option to set up your workspace like those programs. We use the default setup for final cut, and that’s what we will be going over in this blog.
Before beginning the import process, let’s talk about Final Cut Pro’s file management structure. There are Libraries, Events, and Projects.
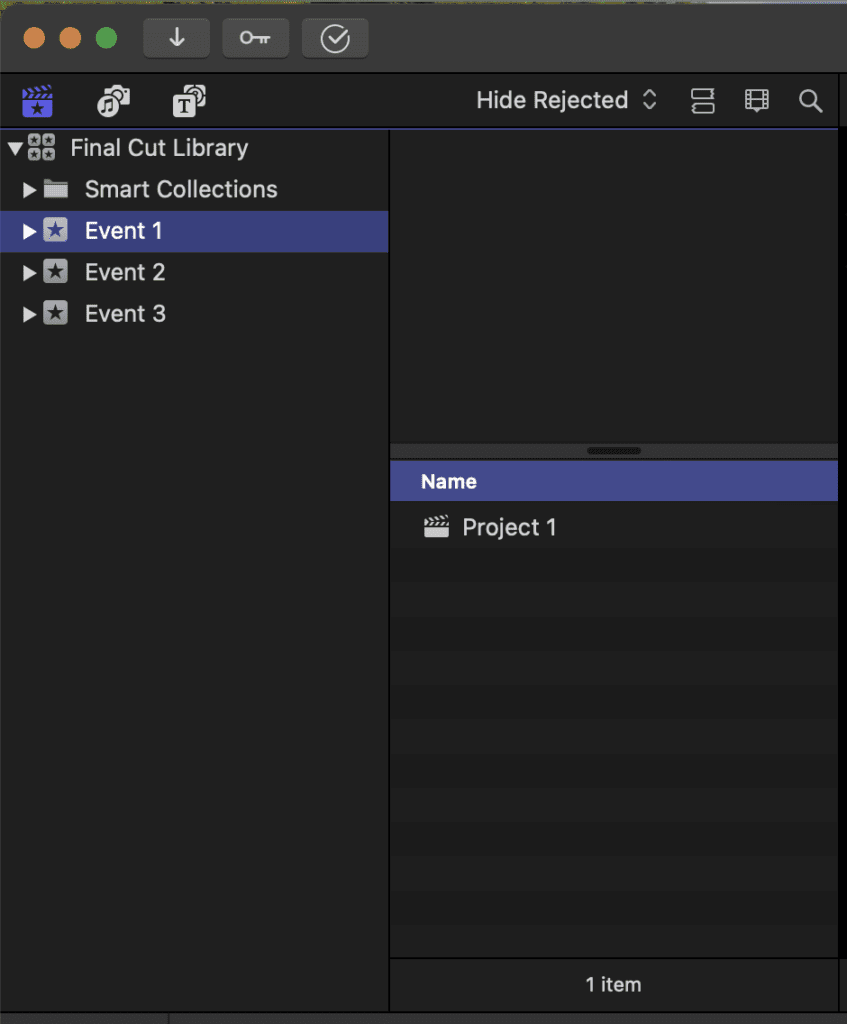
Libraries –
A library is the top-level folder in final cut. Libraries can hold events.
Libraries natively get stored in the “Movies” folder on your Mac. If you close out of a library and need to reopen it you can do that either from the Final Cut menu by going to… File > Open Library, or Open Recent, or by navigating to your movies folder.
Events –
Events are sub folders in a Library that hold media. Final Cut automatically names your events as the current date, but you can rename them. For example, if you’re making a series with multiple interviews, you could make an event for each person that you interviewed, and title them as such. This allows you to avoid renaming each clip individually.
Projects –
Projects are your videos. A library can have multiple projects, and projects can take clips from multiple events within a library.
Now that we know how Final Cut manages its files, it’s time to import.
Import Your Media
Importing your media can be super easy to do within Apple’s ecosystem. There are a few ways to import media into Final Cut.
Pressing CMD+I opens the import panel where you can navigate through your folders to select the media you want to import. This would be amazing IF the navigation was anything but list format. The worst part is that the list is not sorted in an intuitive way.
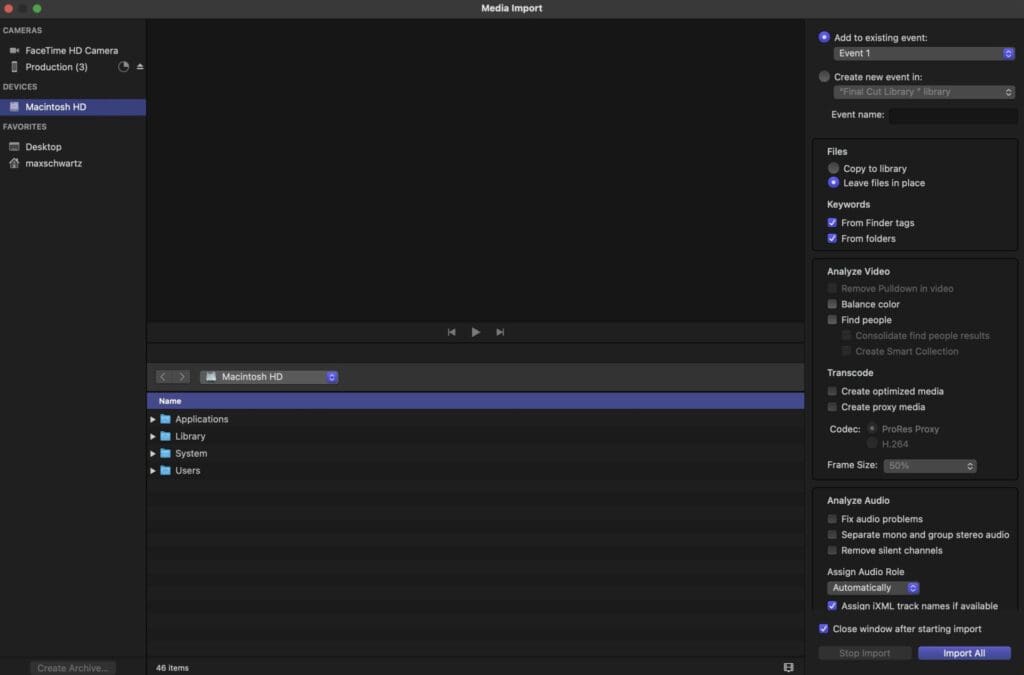
The next way to import media is by dragging and dropping directly onto a project timeline. This is one of the most convenient methods of importing media because it allows you to find that one perfect clip and add it directly to the timeline where you want it.
Finally, you can drag and drop right into the clip preview area or the event folder. Highlight all the clips that you want to import and then drag and drop them from finder and bam you are all set! Pro Tip: If you find yourself in a pinch where you are importing loads of media – prep and sort it into events, and use this style of import.
Edit the Video
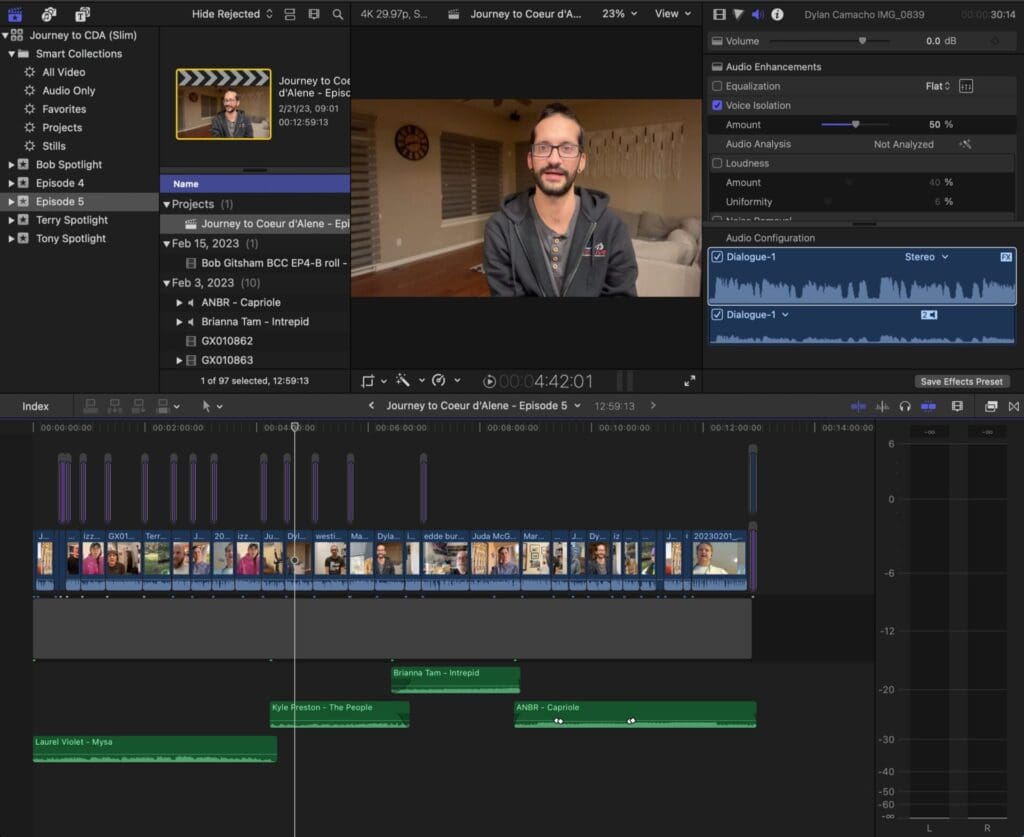
Apples Magnetic Timeline
Final Cut Pro has a unique feature that is not present in other nonlinear editing tools. This is the Magnetic Timeline. When you drop a clip into the timeline it will automatically snap to start at the end of the clip before it. When you remove a clip in the middle of a section, the timeline will automatically remove the negative space and snap the two surrounding clips together. For fast editing this feature is extremely helpful because it removes the task of readjusting all your clips on a timeline.
Auto Saving
When we first started using Final Cut, this was the hardest feature to get used to. Final Cut will AUTOMATICALLY SAVE your work. There is no save option… at all. In the beginning it is hard to cope with not having the ability to manually save your work. BUT when the program crashes or you get the spinning wheel of death, the auto save feature is extremely helpful.
Editing in the Timeline
When you layer clips vertically, the topmost clip will be the top layer on the rendered video screen. If you want to add b-roll on top of a clip with someone talking, the audio will translate and carry but the image will take on the topmost layer.
With audio, things work a little differently. On the timeline all audio clips will get played simultaneously, even when stacked. This is good though! You can add music or sound effects to your video down the road and not have to worry about them removing the audio from your clips.
Now that you know the unique features of Final Cut pro it’s up to you to sequence, trim, and create your video.
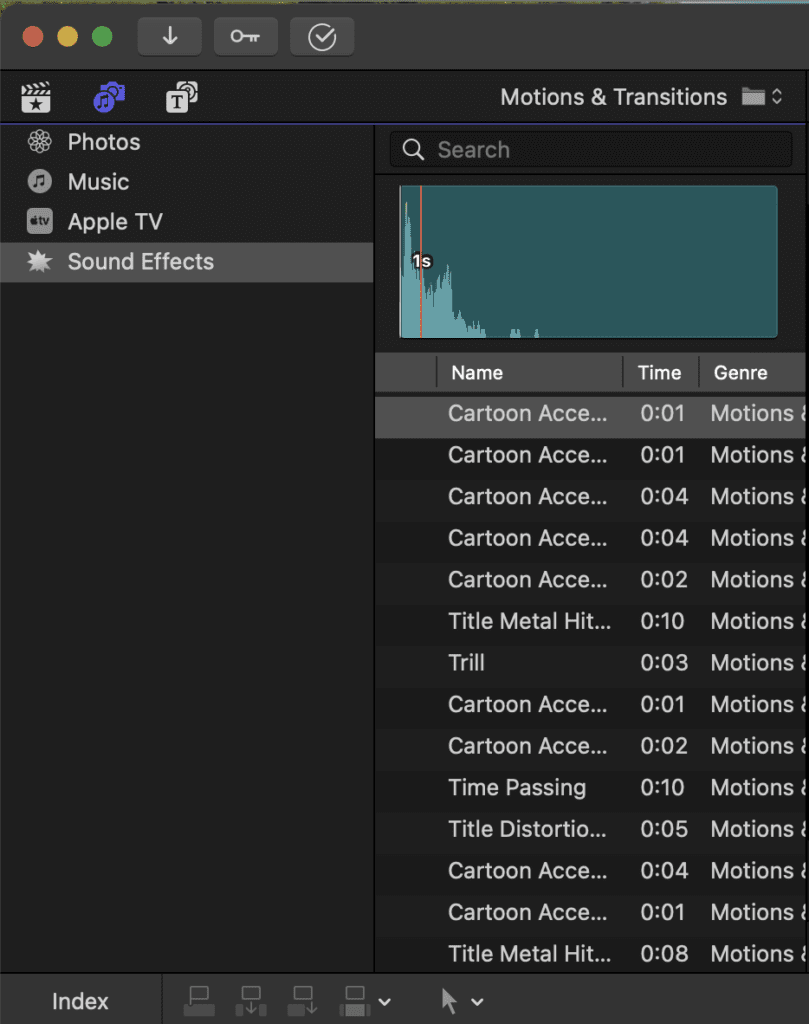
Add Music and Sound Effects
A music bed is a great way to fill montages, b-roll, add a noise floor, and create emotional weight in your video. We use Artlist.io for royalty free music in our videos, but there are many other tools for accessing royalty free music.
Final Cut has built in sound effects and other audio libraries that you can use to make your video represent your style.
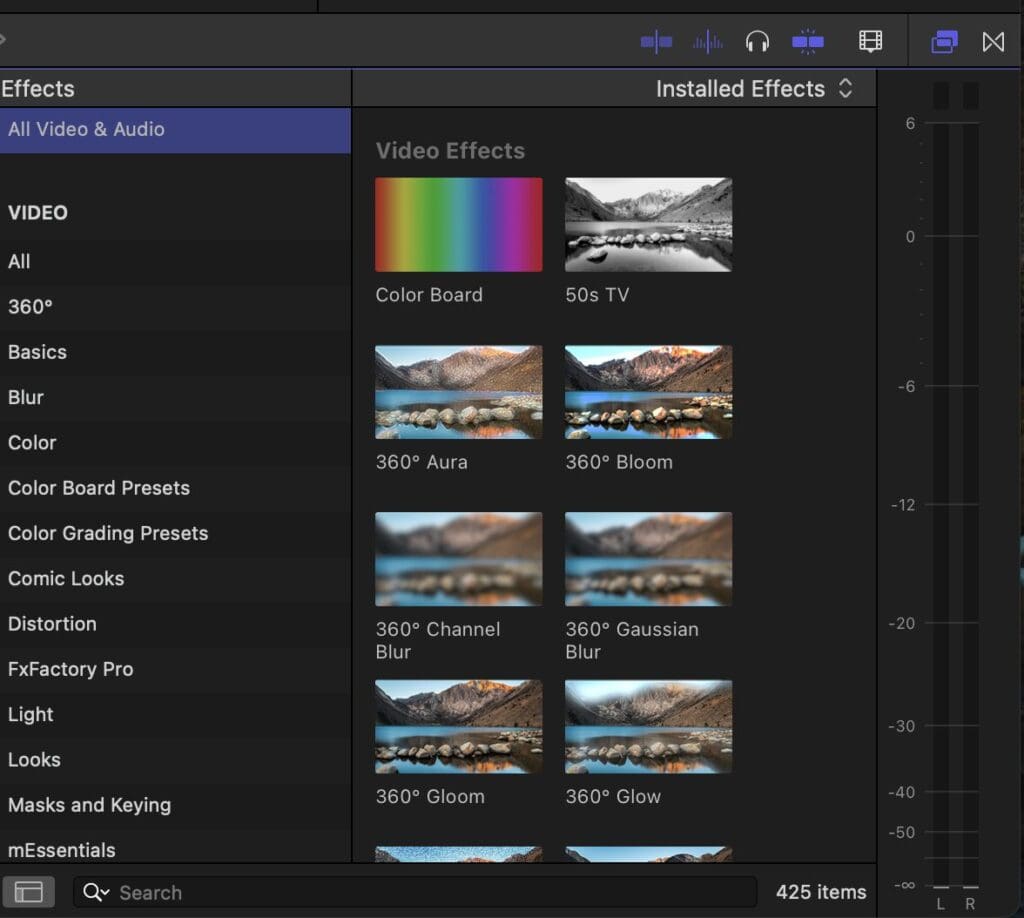
Add Effects and Titles
There is an Effects tab in the timeline that allows you to drag and drop specific effects to clips and edit their parameters. This includes masks, blurs, and much more. The default effects in Final Cut are vast and versatile.
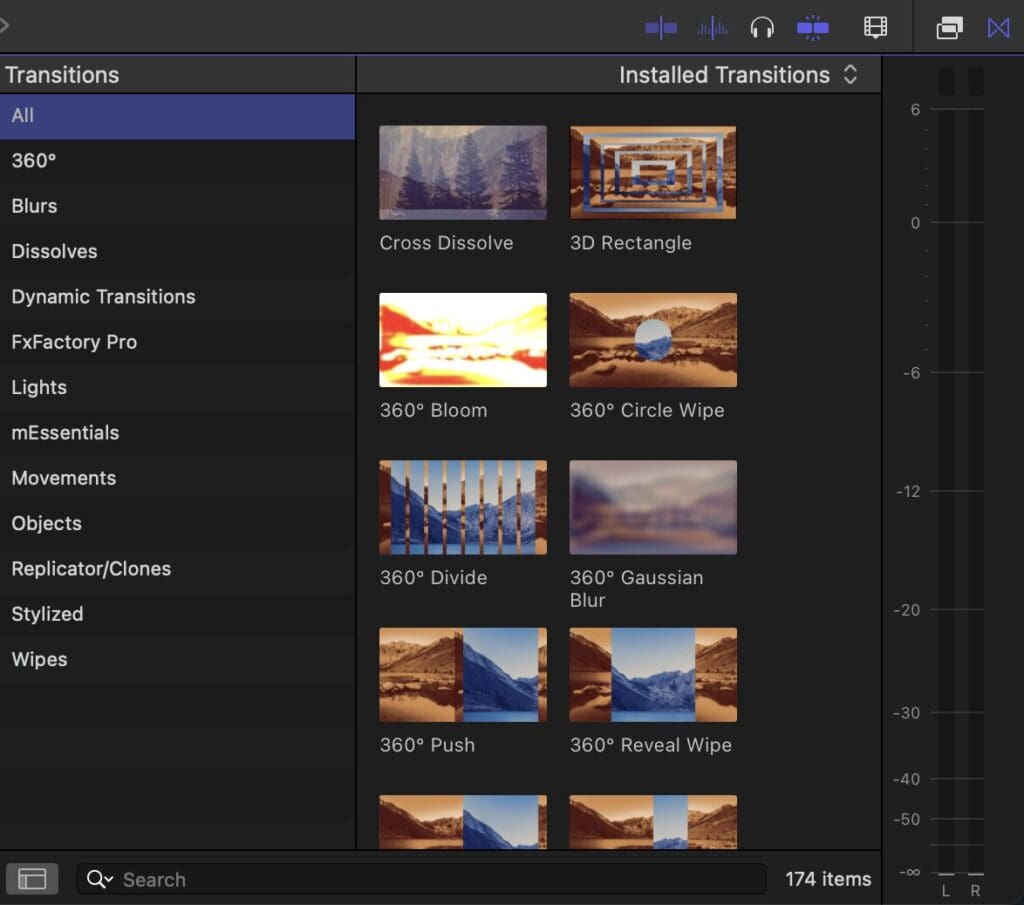
Transitions live right next to effects. They can be added in between clips. Jump cuts are great, but sometimes a cross dissolve or ripple are more effective.
You can also add title from the Title Generator tab. This is located next to the media navigator and sound effects tabs. Final Cut has pre-built credits, and title cards that you can uses to further customize to match your style.

Try these features out and figure out what you like. This is where your creativity can shine. If everyone made videos the same way it would be boring. Put your spin on it!
Share With The World
You’ve edited your video, added music and effects, and you’re ready to share it with the world. The last step in the process is easy. Final Cut renders out your timeline during the editing process, so the last render is generally very quick.
To export or share your video go to… File > Share. A pop-up window will appear with the title of your project and your project settings auto populated. You can change the encoding codec, file type, and whether it’s just video, audio, or audio and video. Click next, select its destination then save. Final Cut will render out your video and you’re ready to share it!
Congratulations! Your first video is done.
Good luck on your video editing journey! If you found this helpful let us know. Tag us in your video or share any other questions you have. Let us know if you want more Final Cut Pro tips in the future!

